
HOW TO CLEAN A ROOF WITH ROOF SHAMPOO®
** It is important to read ALL of the following instructions AND watch the Tutorial Videos at the end of the written instructions.
Step 1 – Add 3 gallons of fresh water to the 5 gallon plastic jug that came with your package. Then add 1 gallon of Roof Shampoo®. Add the water before you add the Roof Shampoo® to avoid excessive sudsing in the jug. No need to discard unused mixture as it can be used for up to one year. Do not store in extreme heat for prolonged periods of time and do not freeze.

3 Gallons water
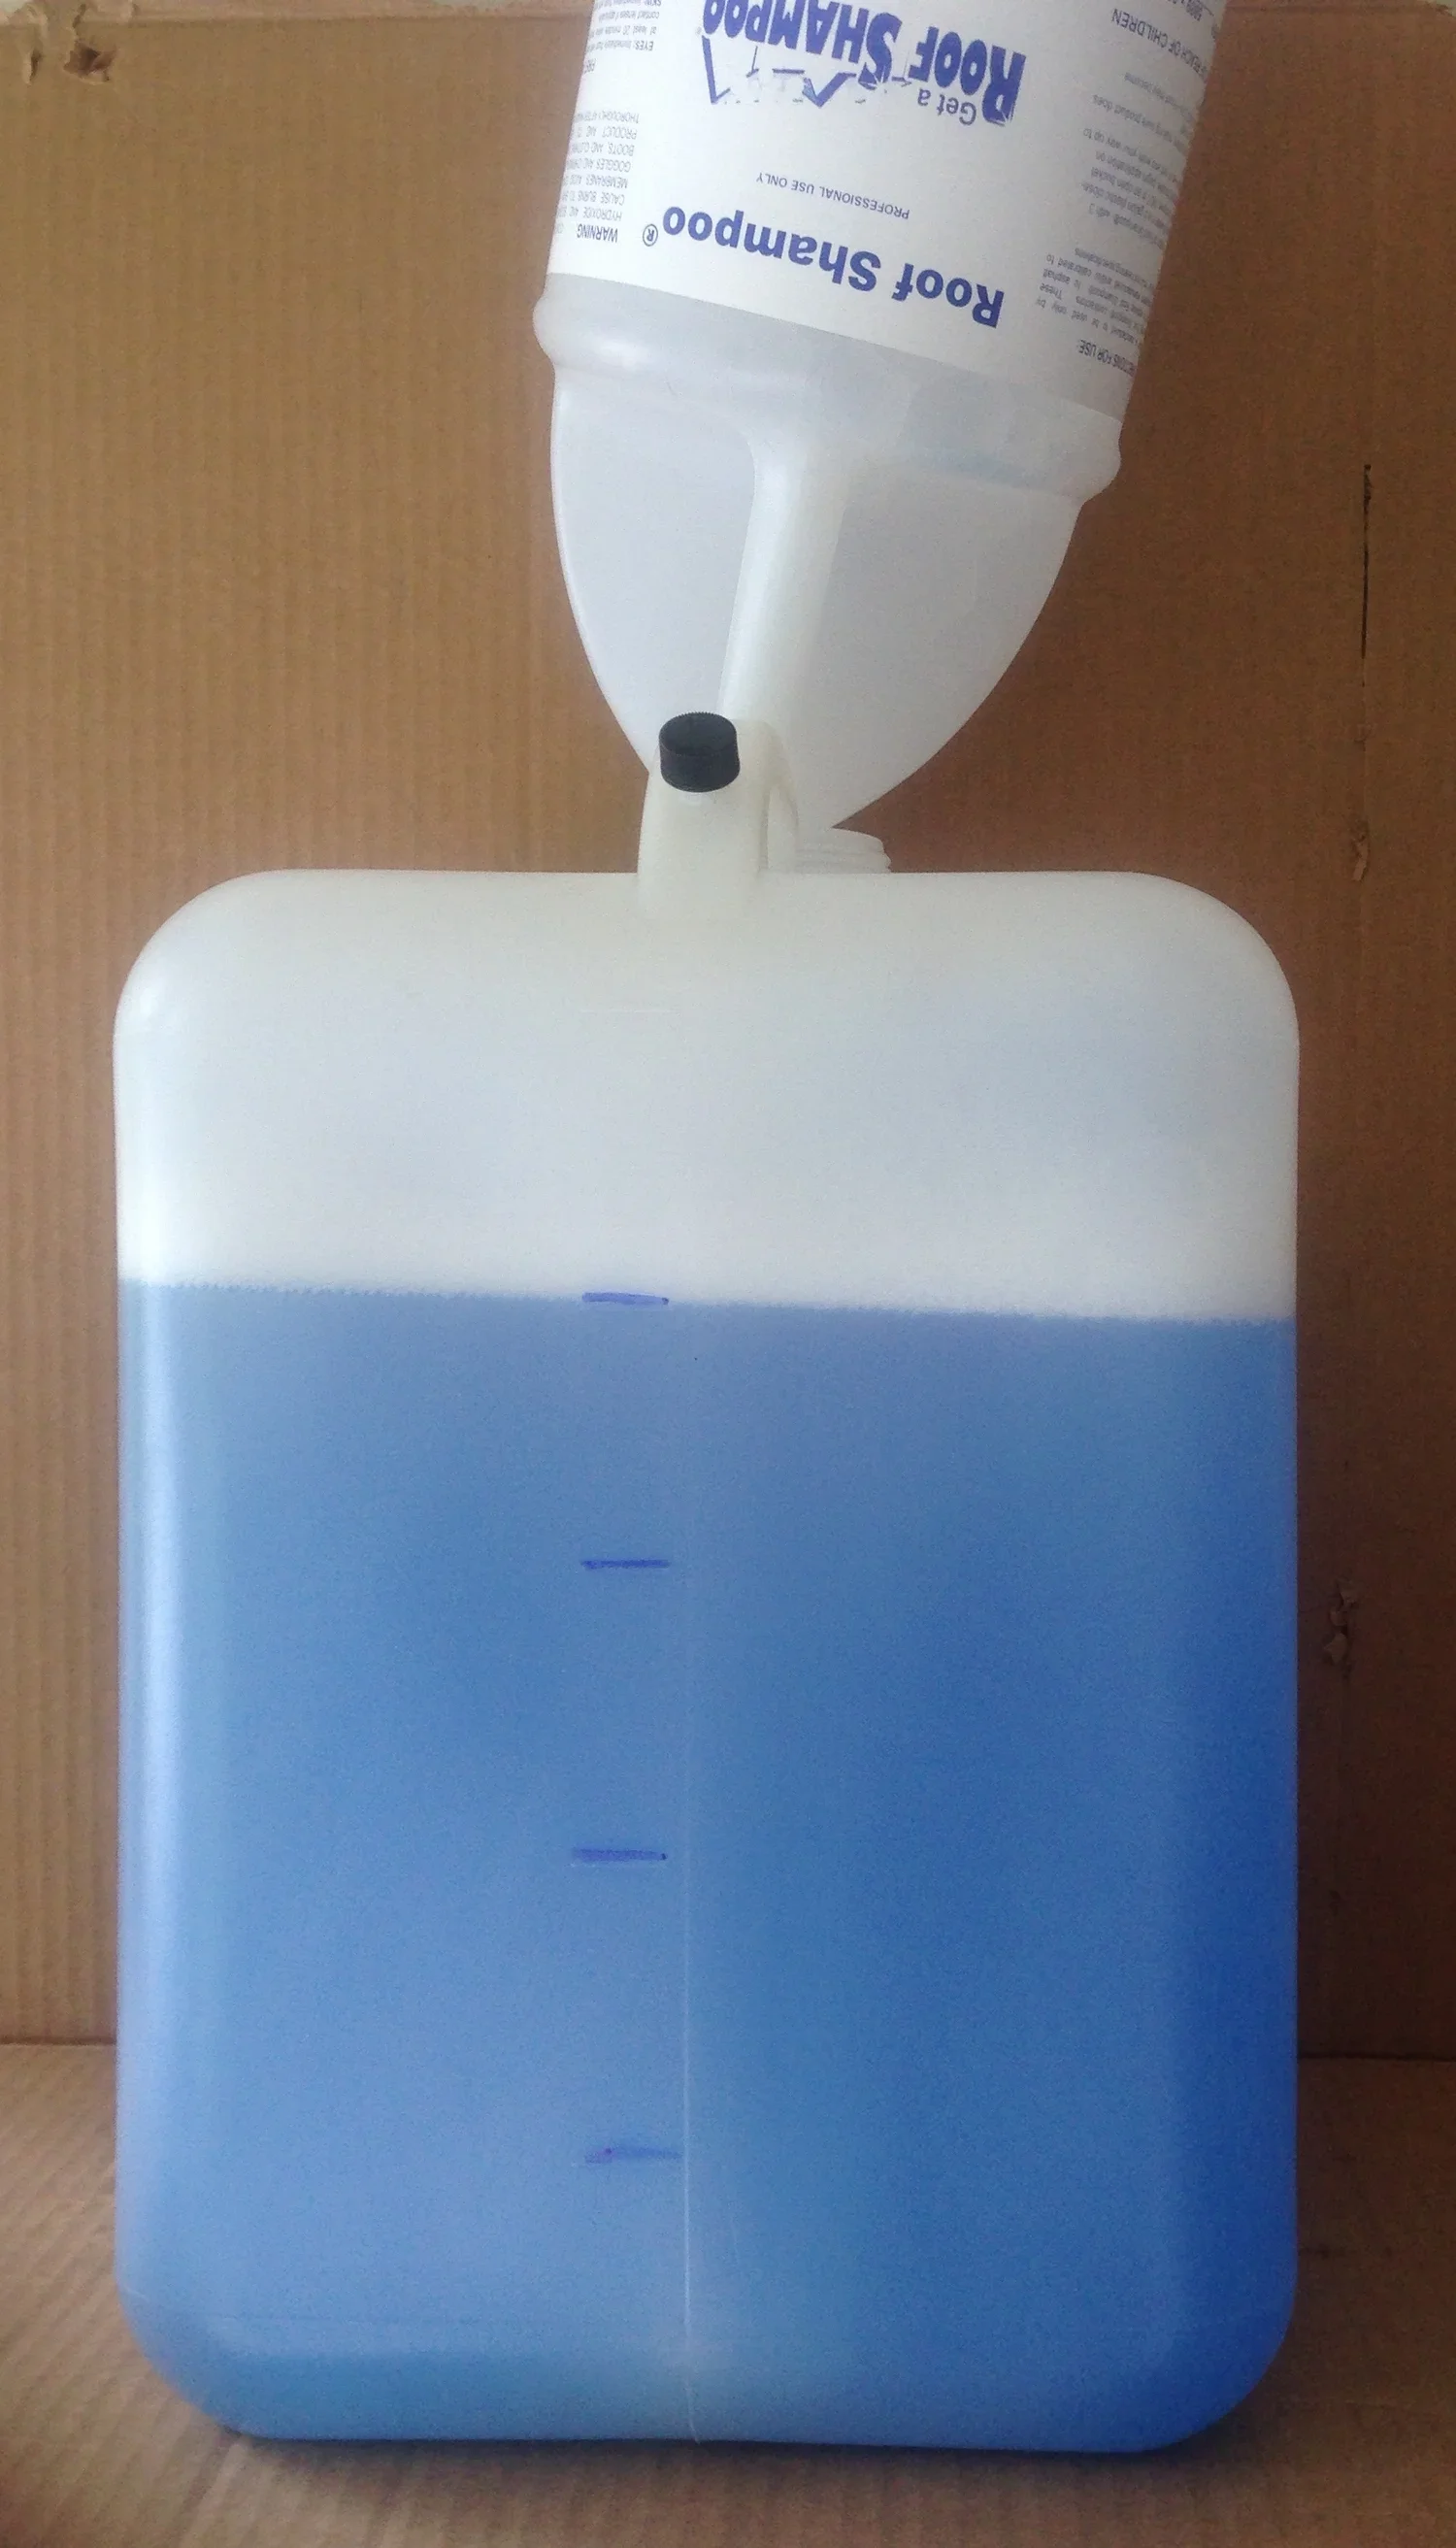
Add 1 gallon Roof Shampoo®
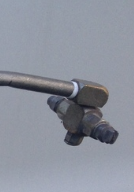
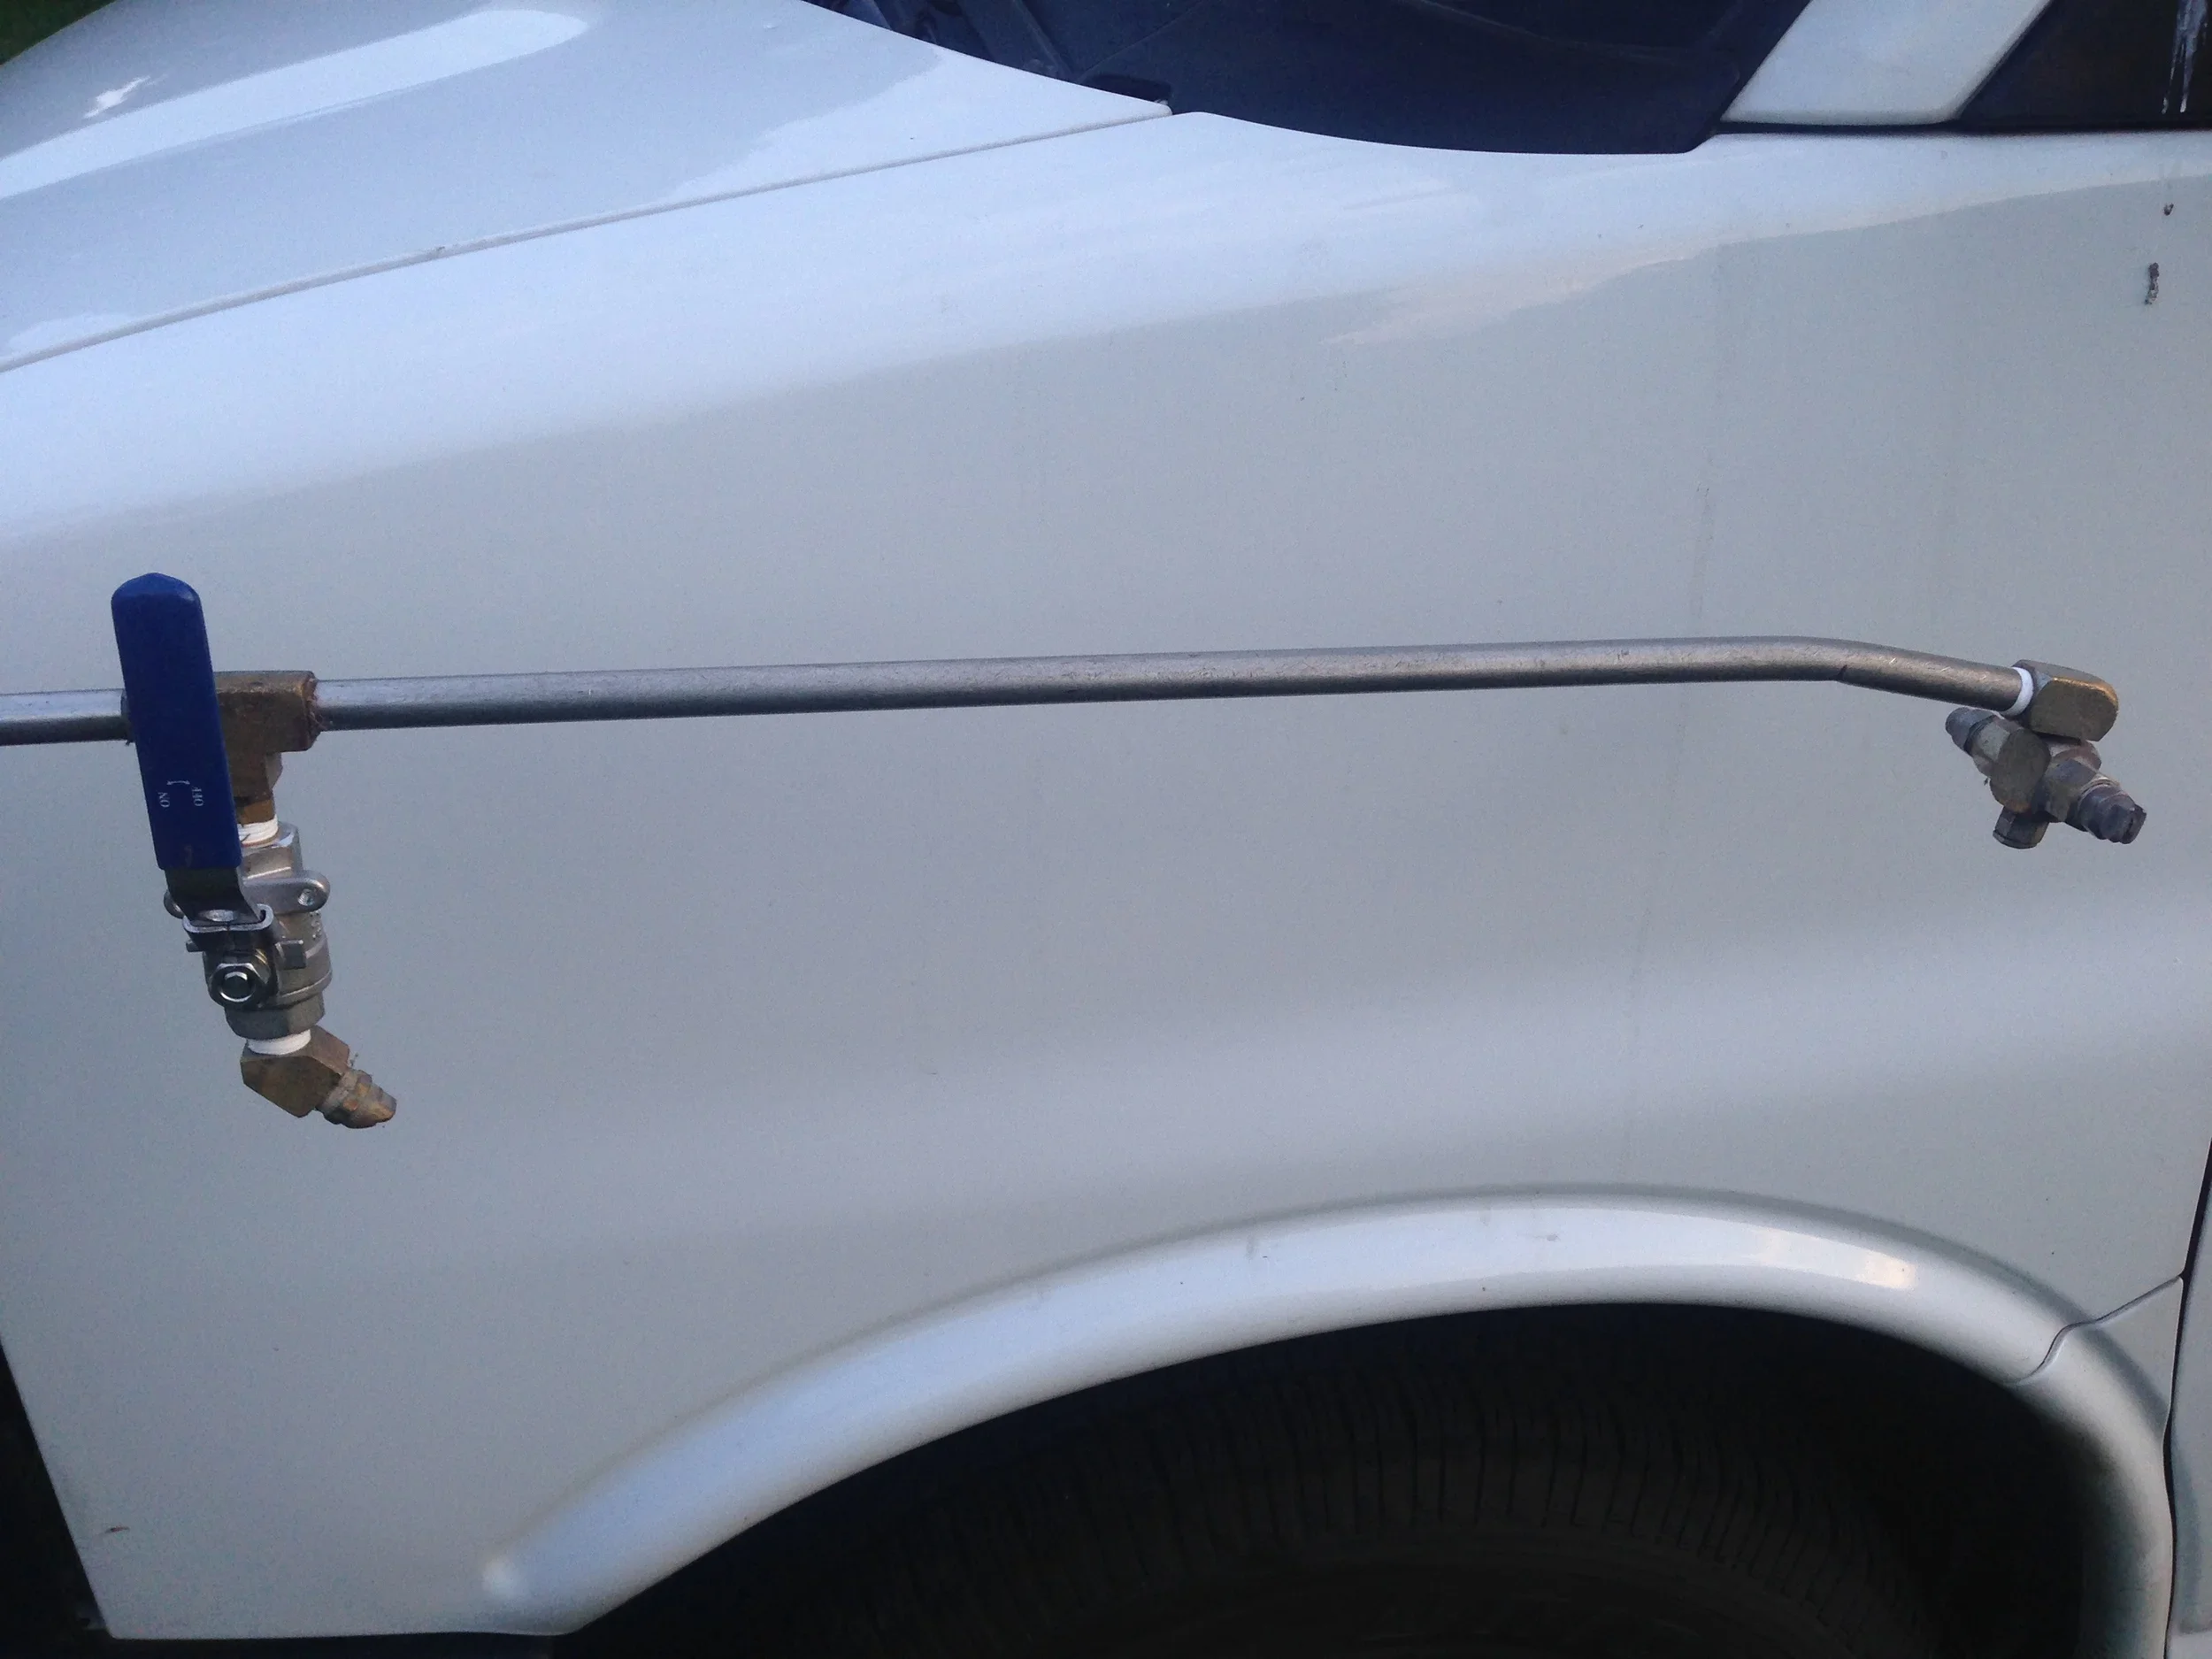
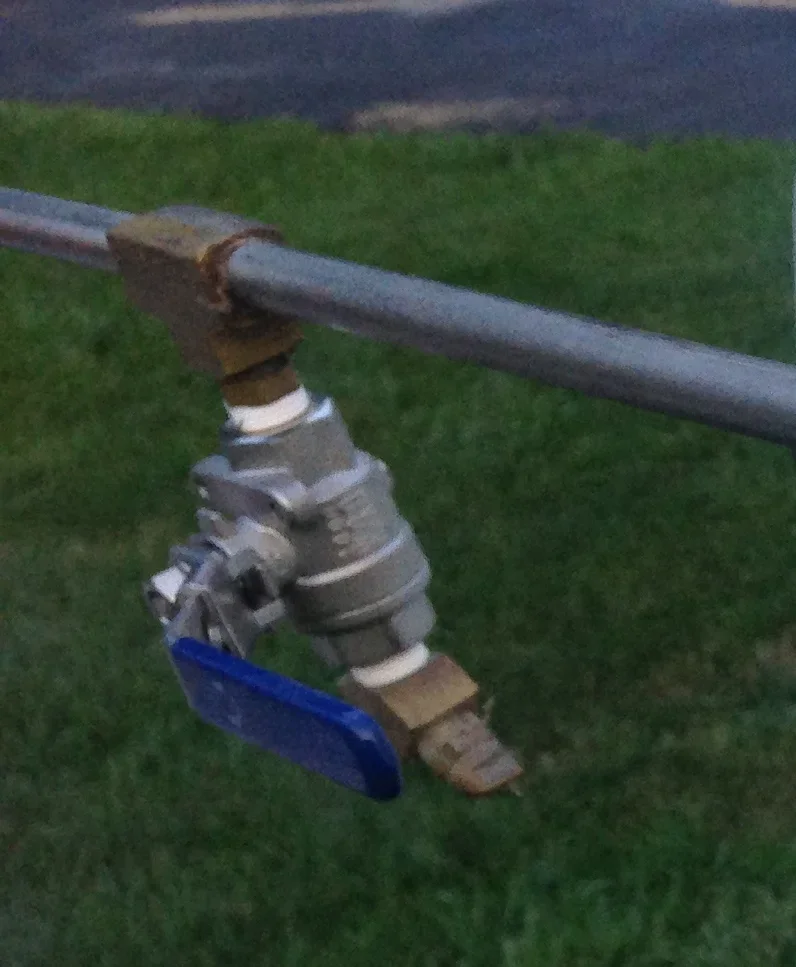
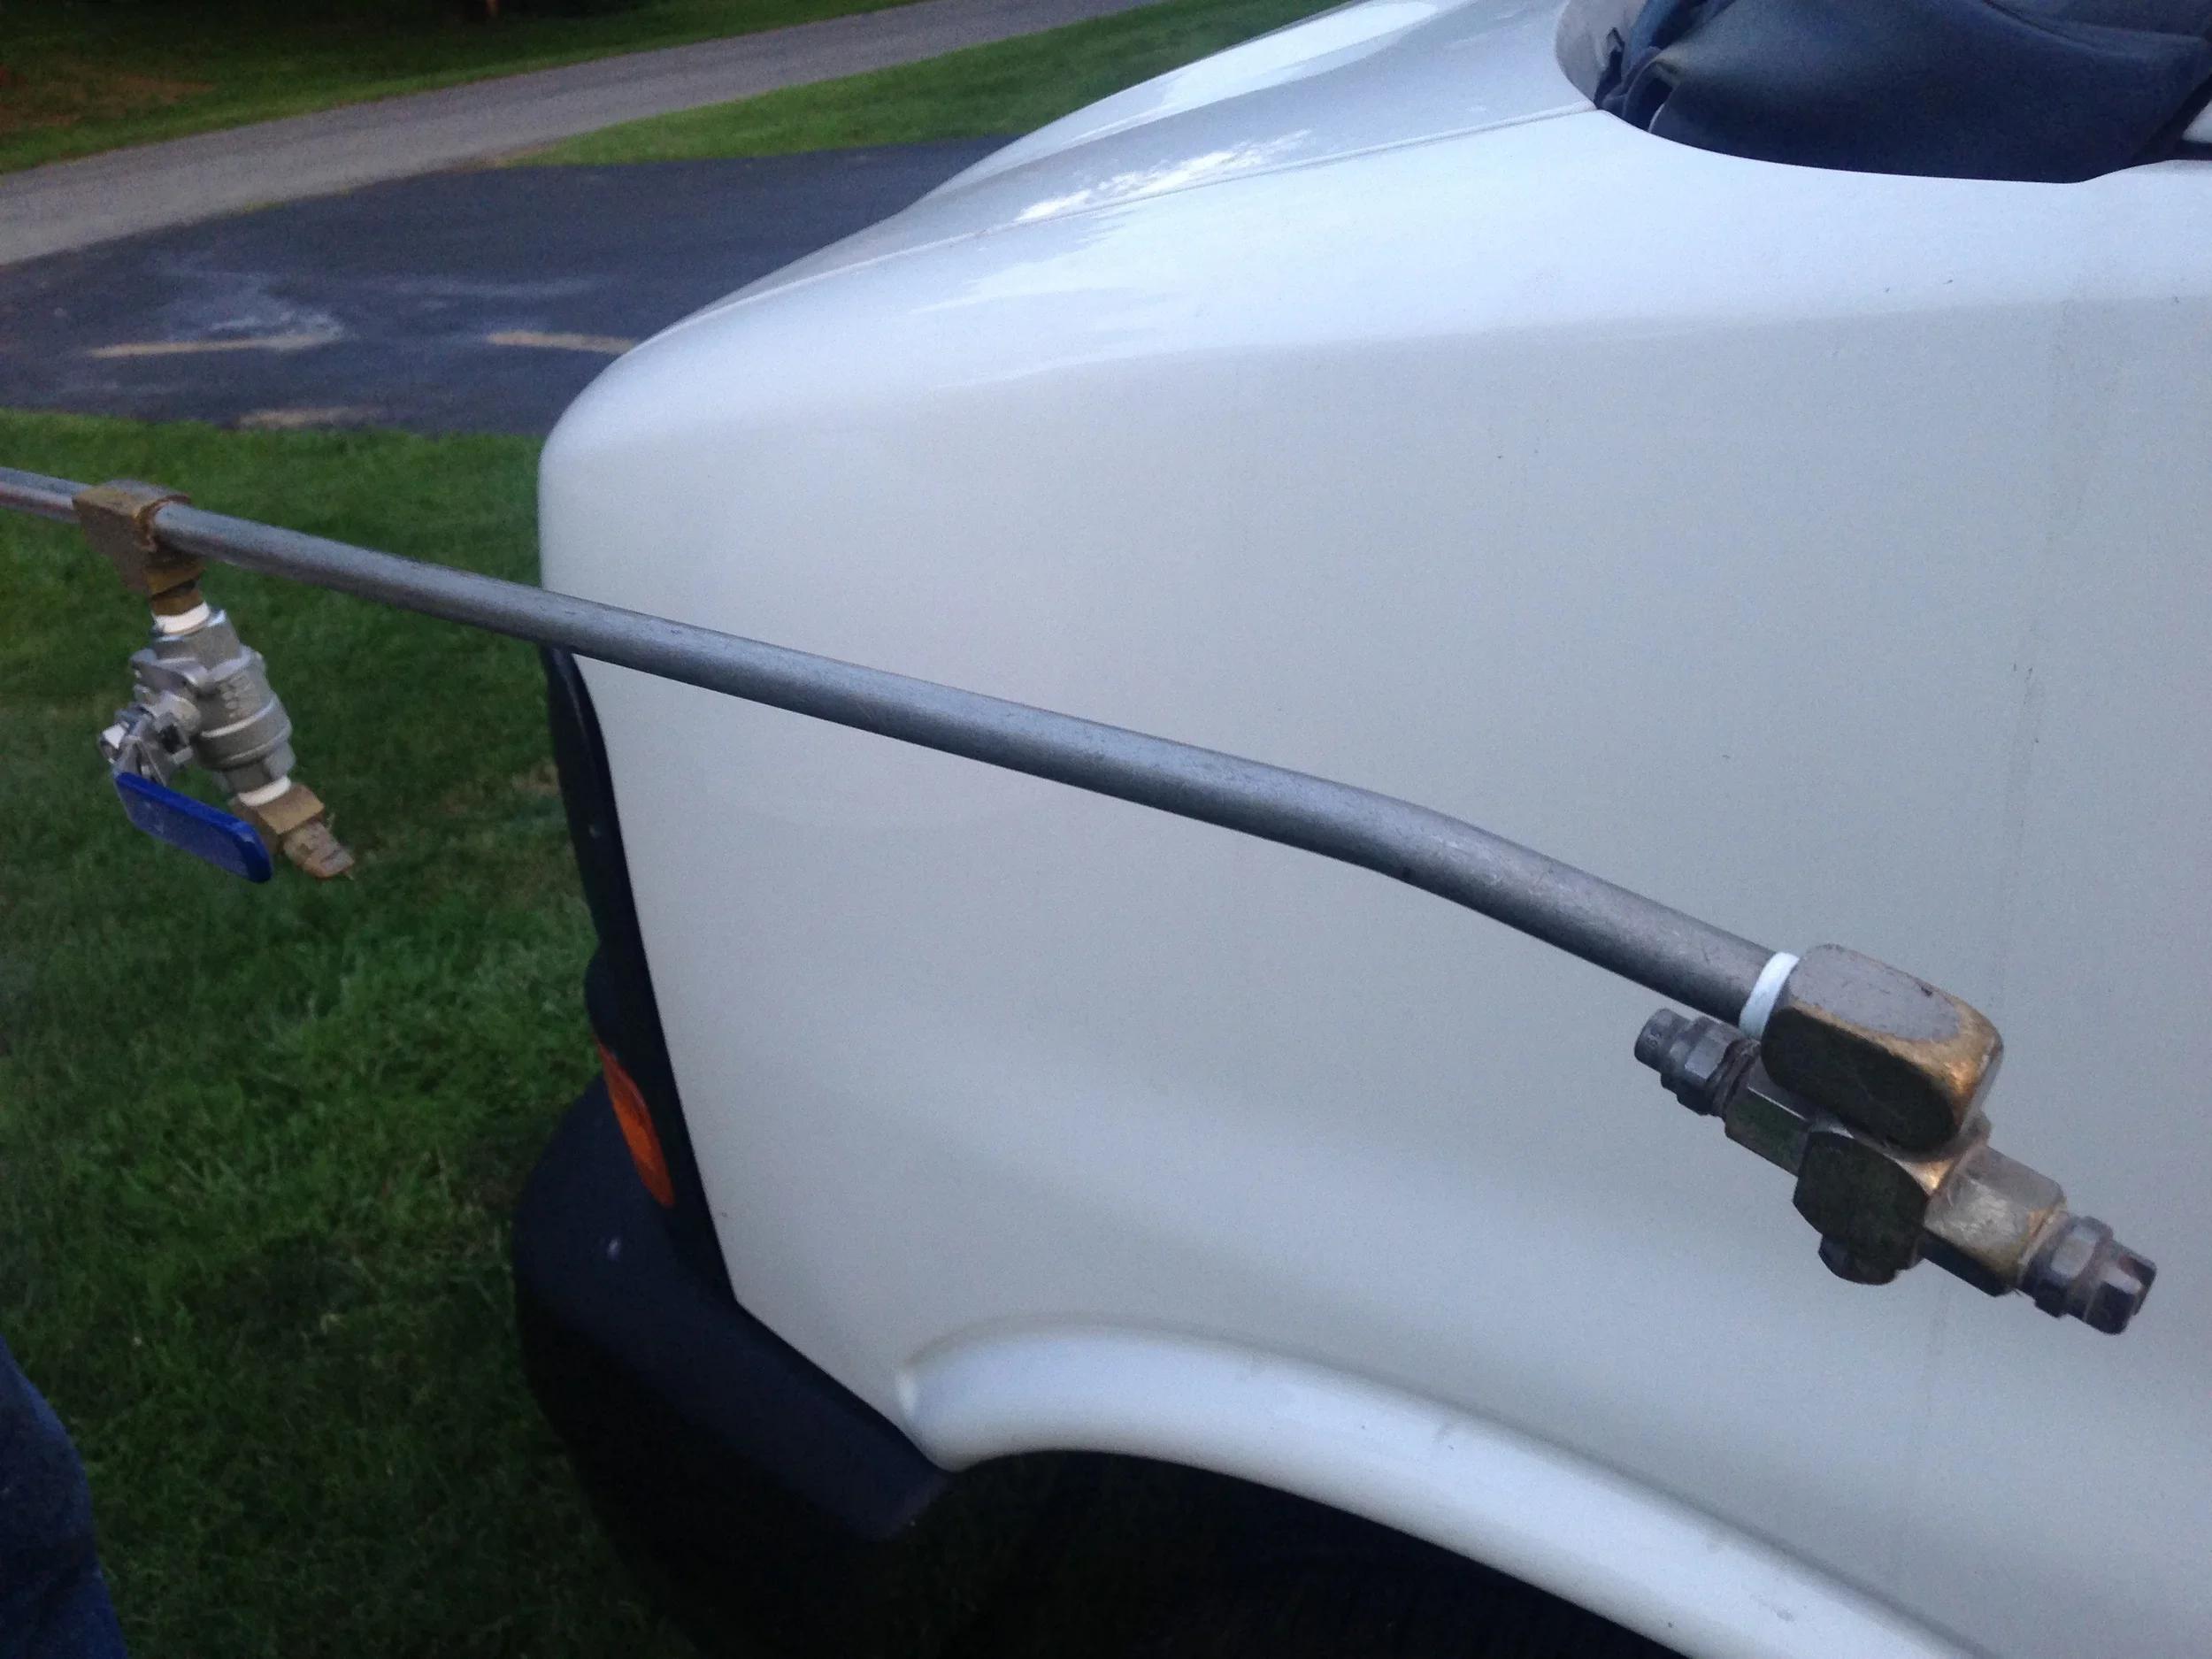
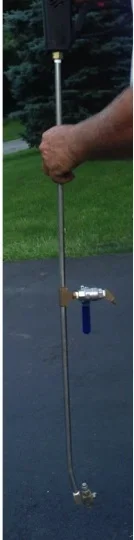
Step 4 – Apply the solution by turning the ball valve in the center of the wand to the ON position. This will begin pulling the solution up through the hose. Make sure the swivel at the end of the wand is in the OFF position (see photo ). The off position is perpendicular to the wand. The off position will prevent the product from flowing from that end too.
Step 5 – Once the roof is saturated with solution, turn the ball valve to the OFF position to stop the flow of the Roof Shampoo® solution and continue squeezing the trigger until clear water appears.
Strictly follow the directions and safety instructions printed on the Roof Shampoo® bottle.
NOTE: The 3 to 1 Roof Shampoo® solution will be diluted another 15 to 1 automatically as it is pulled through the machine using the chemical injector supplied with your package. That dilution rate is the exact rate required to properly clean a roof with Roof Shampoo®. Never use a store bought chemical injector as it likely will not provide the proper dilution rate.
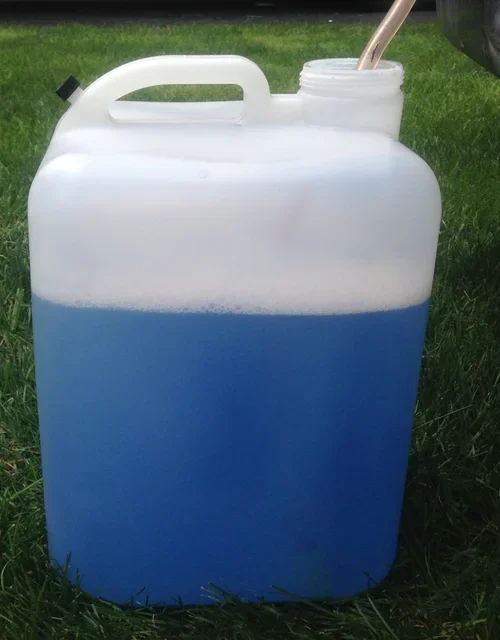
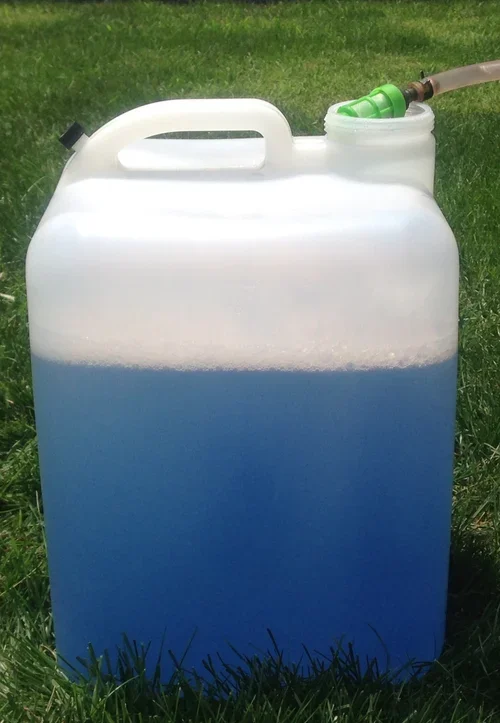
Step 2 - Insert the chemical pick-up tube into the Roof Shampoo® solution so the filter end of the tube is near the bottom of the jug.
IMPORTANT * Only use the chemical injectors supplied by us (or CPW). Store-bought injectors will not deliver the proper ratio of product.
IMPORTANT * To avoid premature reoccurrence of roof stains, NEVER over-dilute product.
CLICK TO LEARN HOW TO ENSURE YOUR CHEMICAL INJECTOR IS MAINTAINING PROPER CALIBRATION.
Step 3 – Attach the wand to the pressure hose and start pressure washer.
IMPORTANT * Always maintain proper pressure washer machine settings (psi and gpm) to exact Roof Shampoo® requirements. Also, never replace nozzles on the disc or wand with different sizes. Any questions about the proper settings should be directed to CPW Equipment at (800) 590-0680. Be sure to identify yourself as a Roof Shampoo® contractor when you call.
IMPORTANT * If you are using more than 200 feet of pressure hose you MUST check with CPW at (800) 590-0680 for instructions on how to ensure that your solution is being properly diluted.
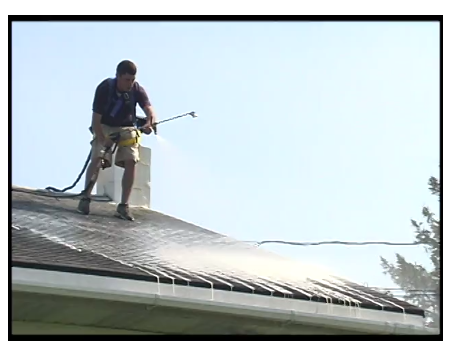
Pull the trigger to dispense the solution on the roof. Once the clear water is flushed out of the hose, the Roof Shampoo® solution will begin to flow. Completely saturate the roof surface with the solution. On hot days, apply the solution to smaller sections at a time so solution doesn’t dry prior to the rinsing phase. If solution begins to dry before you can get to it, simply spray some water on it to keep it wet. If it dries, it won’t hurt anything – but it can take longer to rinse off.
Step 6 - Disconnect the wand from the hose and connect the Disc. When switching between the wand and disc, turn the valve at the end of the hose off (where you connect the wand and disc) to stop the water flow during the switch.
Step 7 - To rinse the roof with the disc, use an up and down motion to raise and lower the disc. Or walk behind it, depending on the roof pitch. Be sure to pass over each area 4 times (2 round trips with the disc). SEE VIDEO BELOW
IMPORTANT * Always ensure that the pressure gauge at the engine shows the psi at 1,100, or very close to that. Considering the friction of the hose which reduces the psi, and the wide fan-spray tips on the disc and wand that disperse the spray - there is no precise way to measure the exact psi at the delivery end, but it is less than what the gauge shows since the gauge only measures directly from the engine and not the delivery end of the disc/wand and nozzles. At the delivery end it is similar to a heavy rain which shingles are designed to endure.
The Pressure gauge should read 1,100 at the max operating rpm when running the wand or disc while rinsing. Verify the throttle is in the max position (refer to the machine Operating Manual under operations instructions). When distributing the chemical the gauge will read several hundred psi less than when rinsing.
IMPORTANT * Be sure that the disc is connected to the pressure hose with the safety cable. INSTRUCTIONS FOR ATTACHING SAFETY CABLE
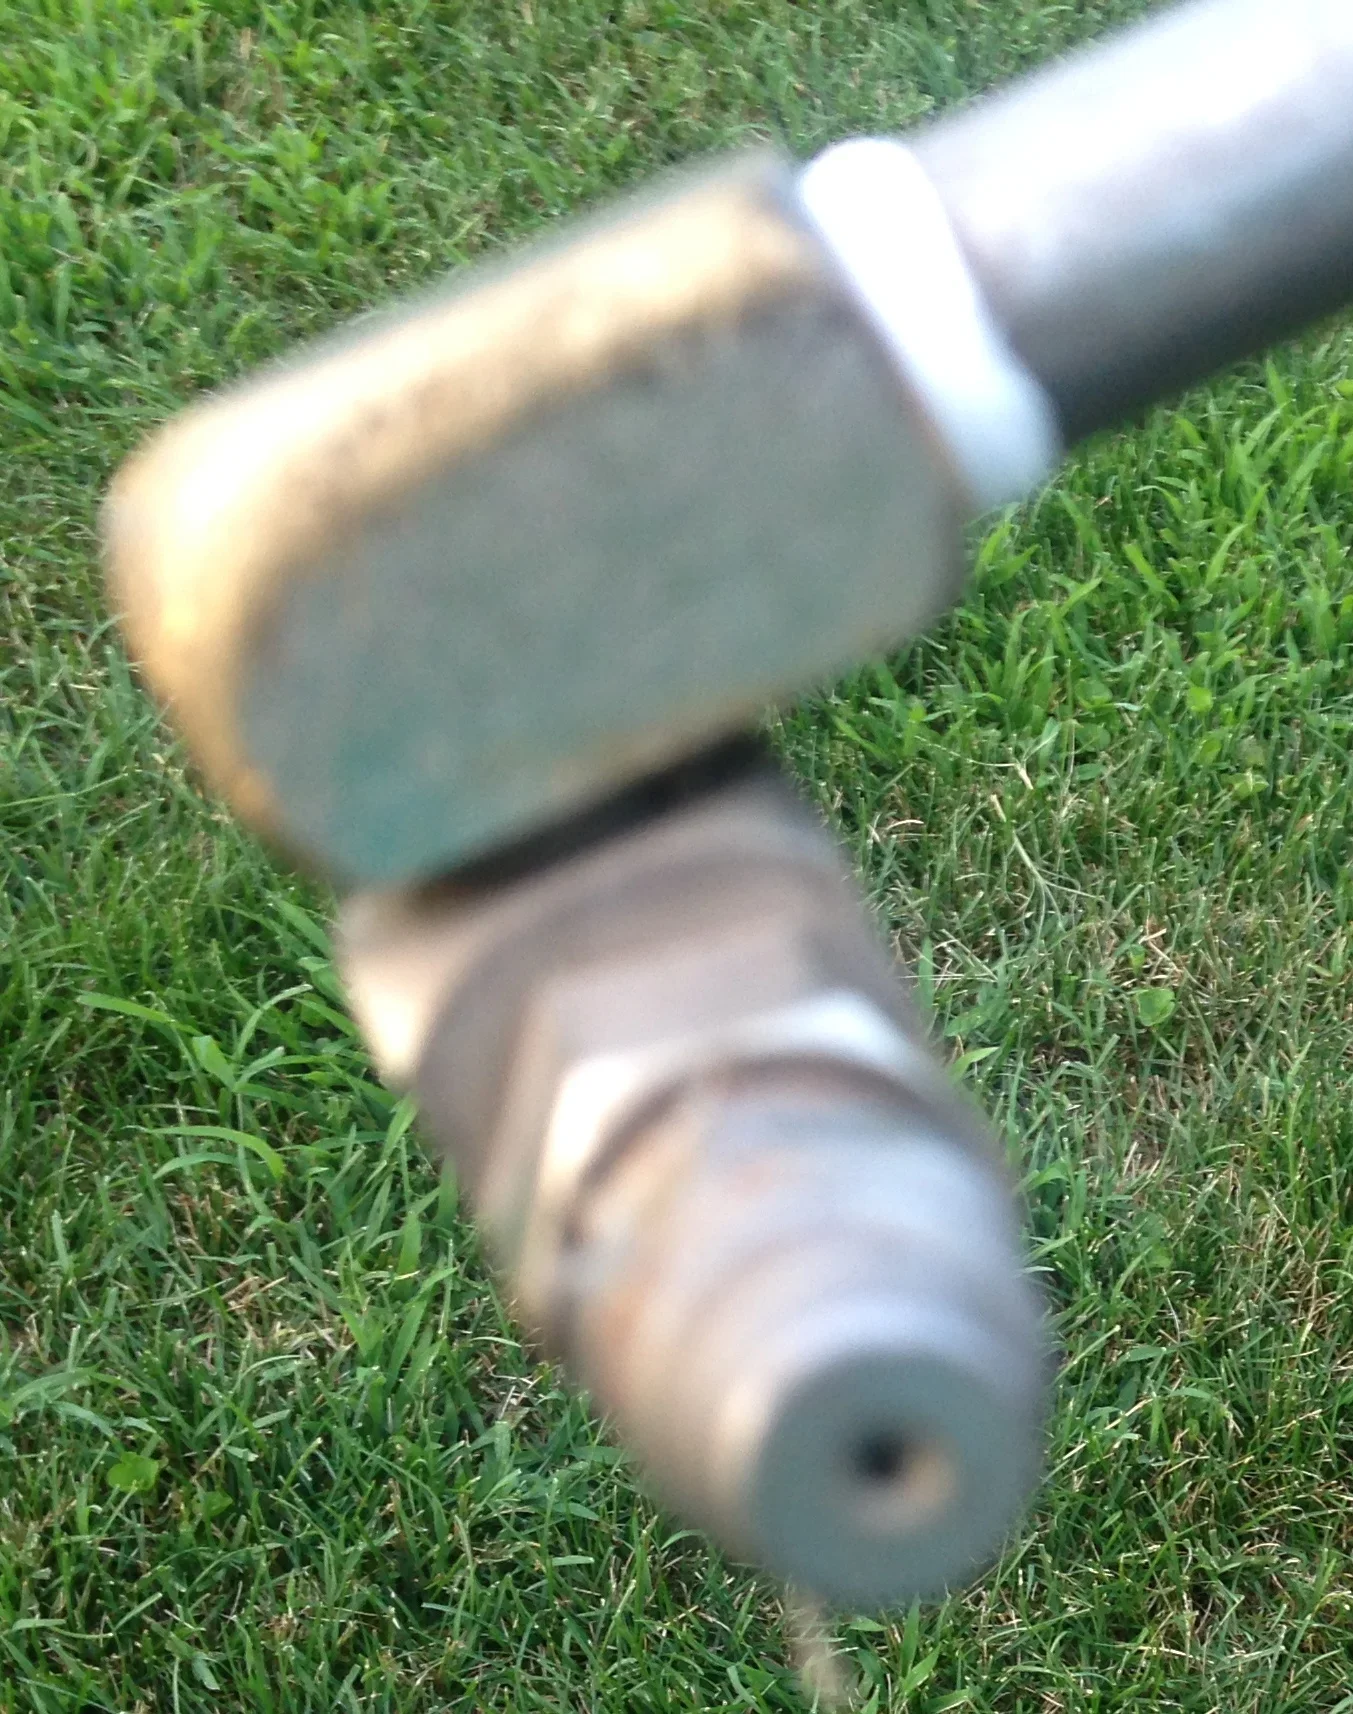
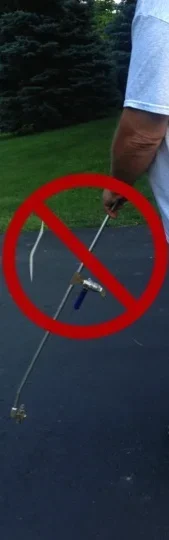
Step 8 – When you have finished rinsing with the disc, disconnect the disc and connect the wand to rinse areas the disc couldn't get (ridges, valleys, around dormers, etc). Turn the swivel at the end of the wand so that the fan spray nozzle is in the ON position, which is vertical to the wand. Use the fan spray tip only, NOT the zero tip, on the roof. NEVER USE THE OTHER NOZZLE, WHICH IS THE ZERO TIP NOZZLE, ON THE ROOF. The zero tip nozzle is only for spraying at a distance to clean dirt and debris that got on gutters, etc.
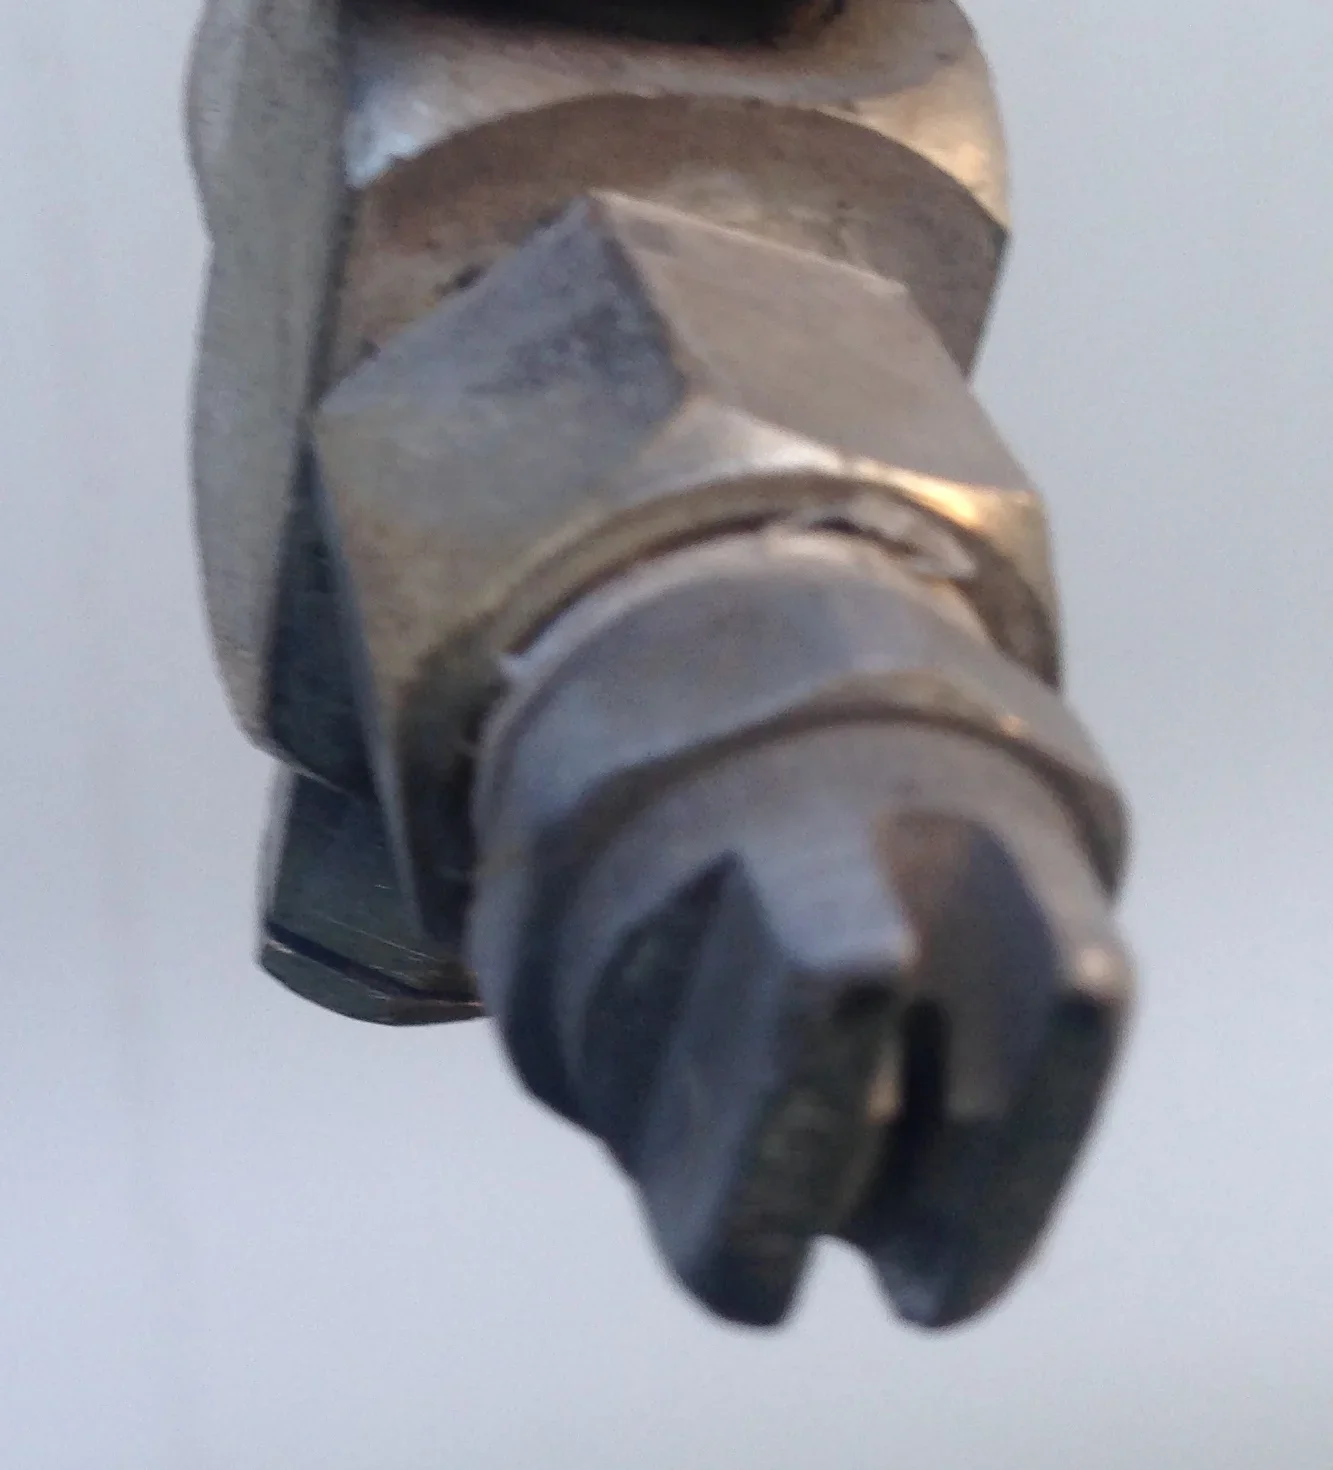
Holding the wand perpendicular to the roof, and approximately 6 inches from the roof, begin rinsing those areas that the Disc can’t get.
Fan Spray Nozel (4008 1/4" meg)
Step 9 - Clean up by using a fresh water rinse to clean any dirt or debris that got on the sidewalks, gutters, siding, etc.
NOTE: NEVER use the zero-tip nozzle on roof shingles. This tip is ONLY for spraying at a distance to clean dirt and debris that got on gutters, etc.
Zero tip nozzle pictured left -- (0008 1/4" meg) NEVER use on roof shingles.
BE SURE TO FOLLOW OSHA SAFETY PROTOCOLS AND BE THOROUGHLY INFORMED OF ANY ADDITIONAL SAFETY REQUIREMENTS SPECIFIC TO YOUR STATE.